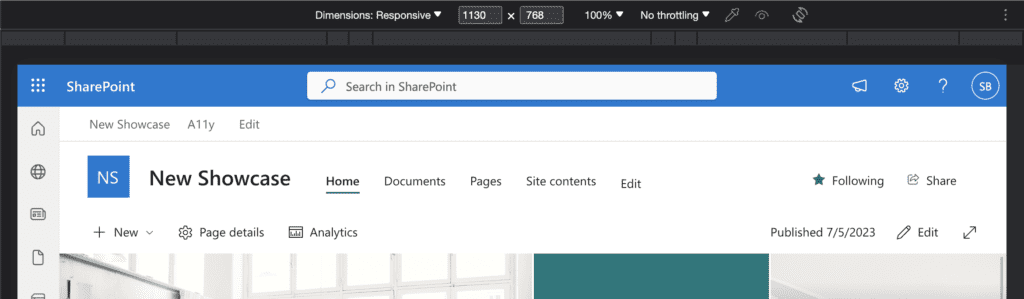
When you take a screenshot of a SharePoint Page, the result might look like the screenshot below. Let see how time-consuming SharePoint screenshot can be done easier.
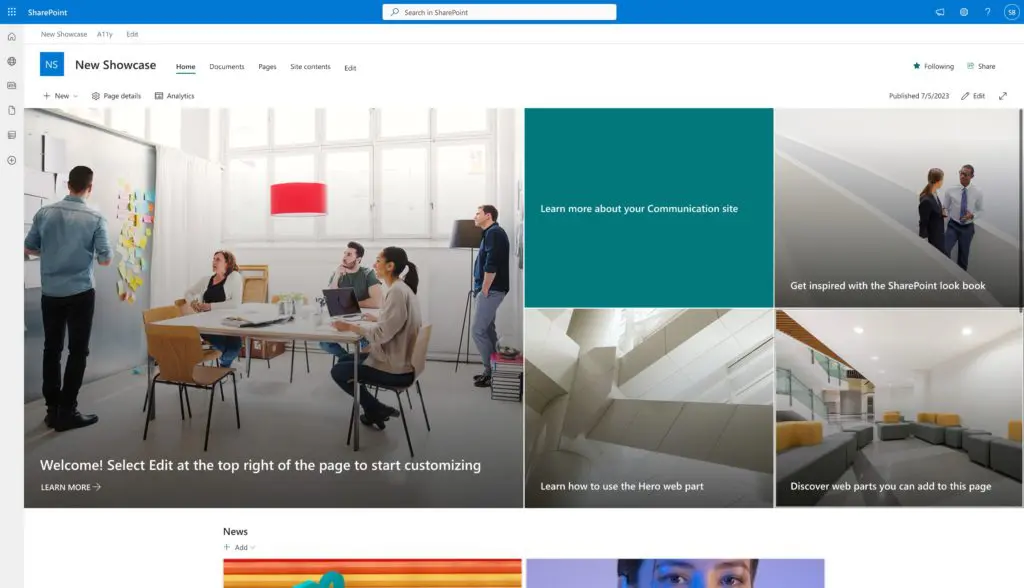
You see the first segments of the page, and then everything gets cut off. While I tried out some tools to make a screenshot of the entire page, they mostly failed because of the page’s underlying structure.
While scrolling to the next page and taking another screenshot and another screenshot can be time-consuming, here is a simple trick to capture the complete age in one go.
Developer tools are there to help
The following trick will only work in Microsoft Edge and Firebox. Those two browsers have a built-in screenshot tool, so you don’t even have to rely on third-party apps. Let us focus on Microsoft Edge.
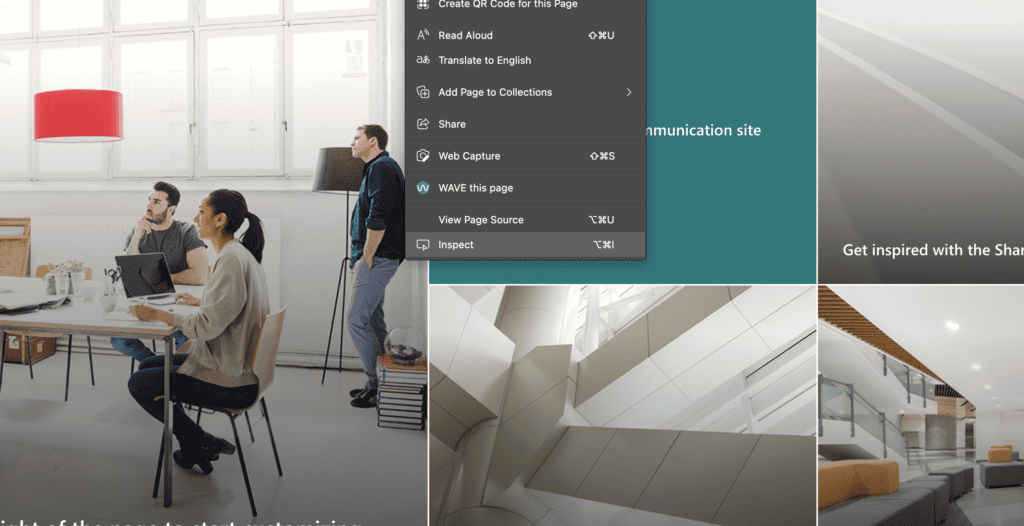
Right-click and open developer tools via inspect
First, Right-click somewhere on the page, preferably on the white space, and select ‘Inspect’ to open the developer tools.
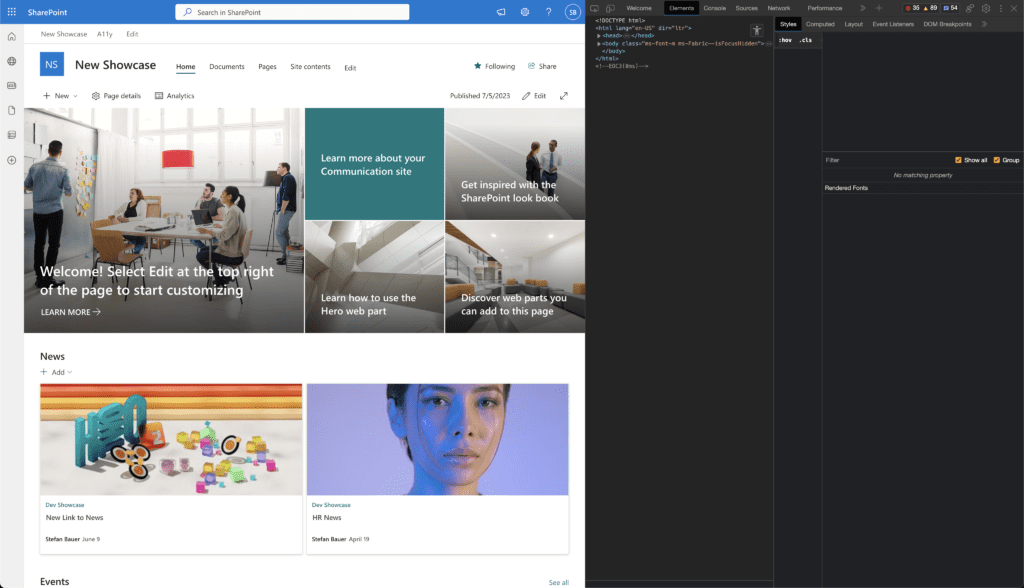
Developer Tools open in Microsoft Edge
Two icons are next to the SharePoint User image on top of the developer tools.
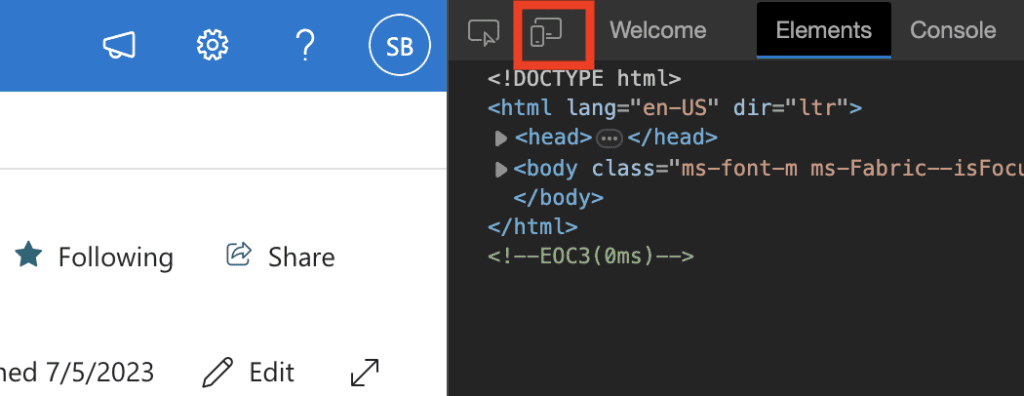
Click on the icon highlighted in red to open the device emulator
Pick the second icon to set the main browser window in the “Device Emulator” mode.
Configuration of device emulation
On top of the device emulator mode, you can do some configurations. For example, choose the dimensions of a device or enter them yourself. It is important to note that the first drop-down says “dimensions: responsive”.
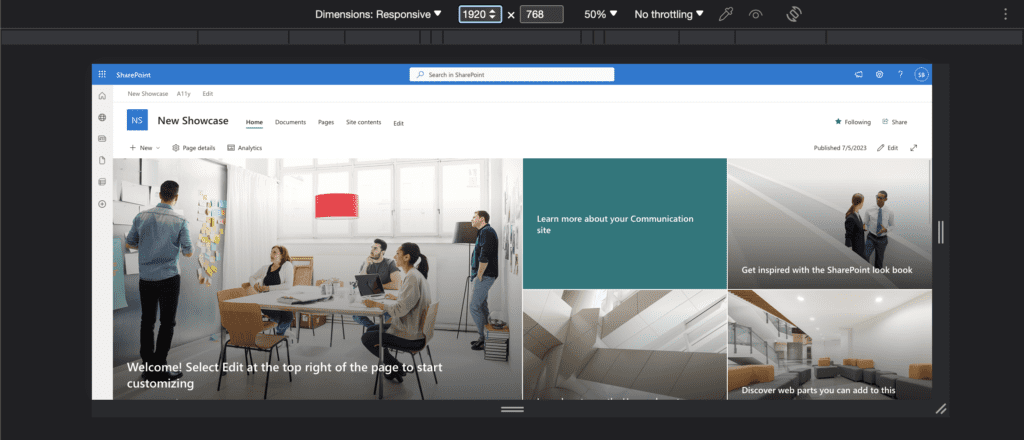
SharePoint at 1920px show in Device Emulator – Blue Highlighted defines the width
Next to the drop-down, you can select height and width. To make a screenshot with a width of 1920px, add it to the first field. In my case, it set the zoom factor to 50%, but we don’t have to worry about that. The second field allows us to change the height of the window.

Changed configuration to a height of 3000px
It set the height to 3000px, and even thou my screen is not large enough to view this, the zoom factor, in my case, decreases to 35%.
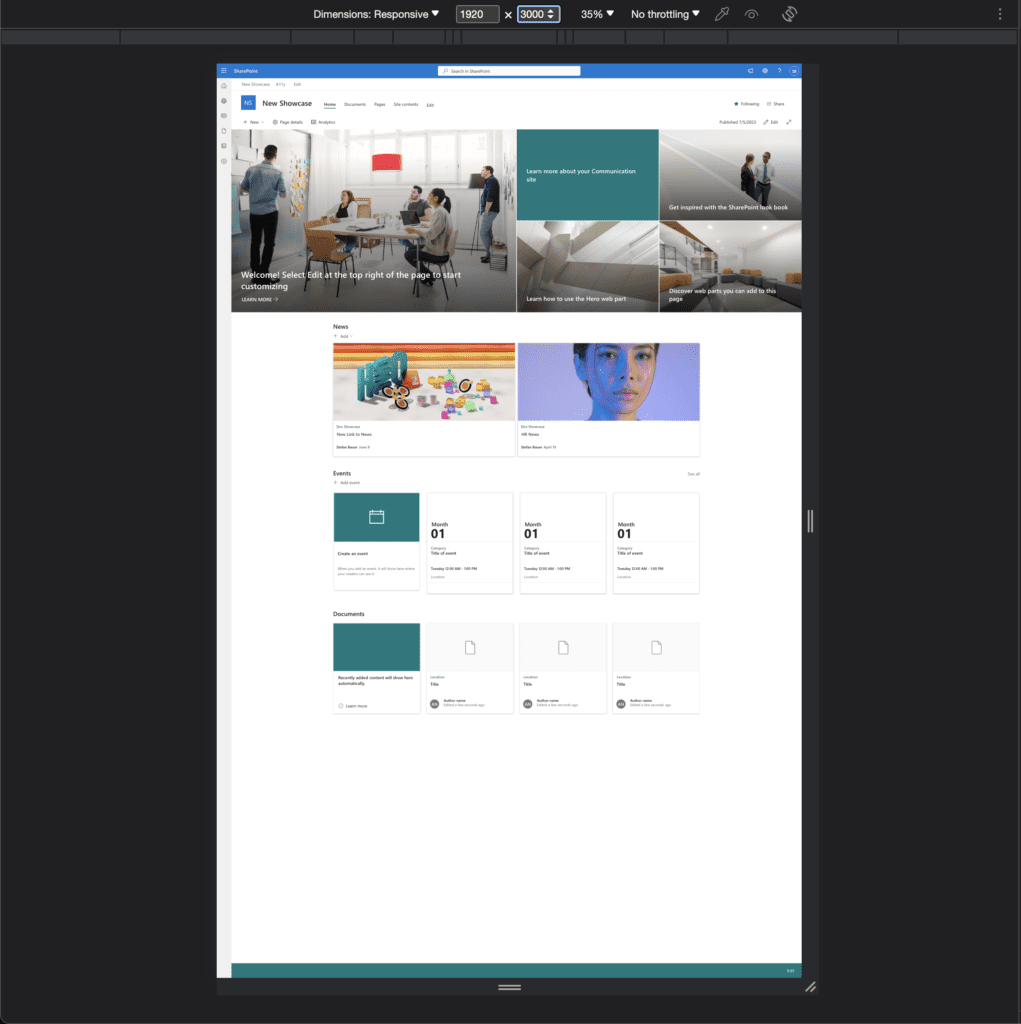
Device emulator showing the full page length of SharePoint
With these settings applied, viewing the entire SharePoint page is perfectly fine. The handle at the bottom of the window, you can reduce the size to your need. Once all this is set up, the last step left to do is to we need to do now is to right-click again and select “Web Capture” this time.
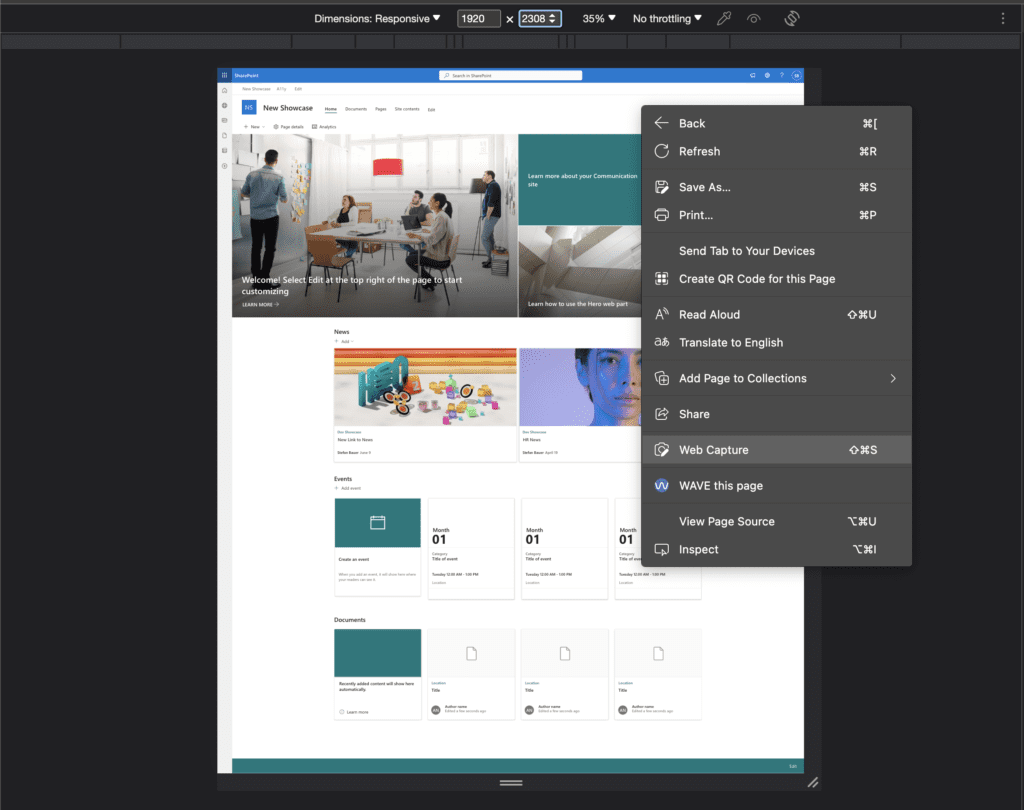
Now we are ready to take a screenshot using web capture.
You can now select “Capture Full Page”, creating a screenshot of the SharePoint page.
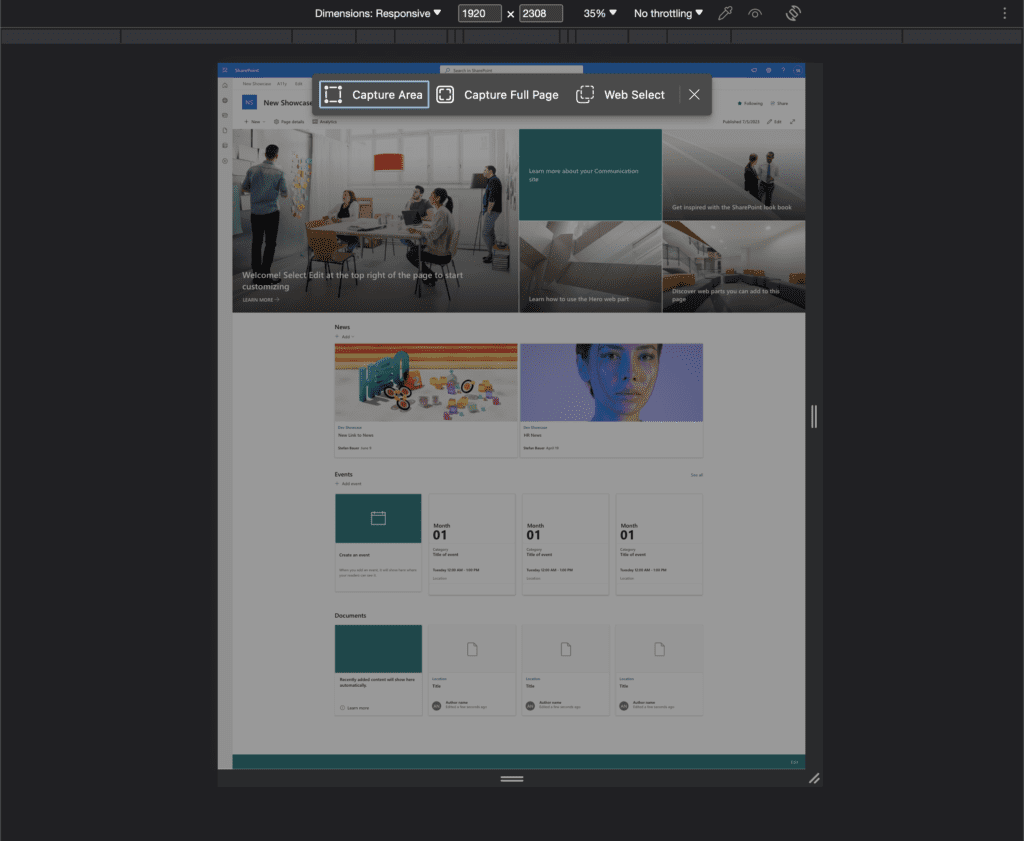
Click on “Capture Full Page”
The final thing left to do is to save the screenshot onto your disk, and you will have a screenshot like the following with every piece of information on it. Perfect for showcases, documentation or samples.
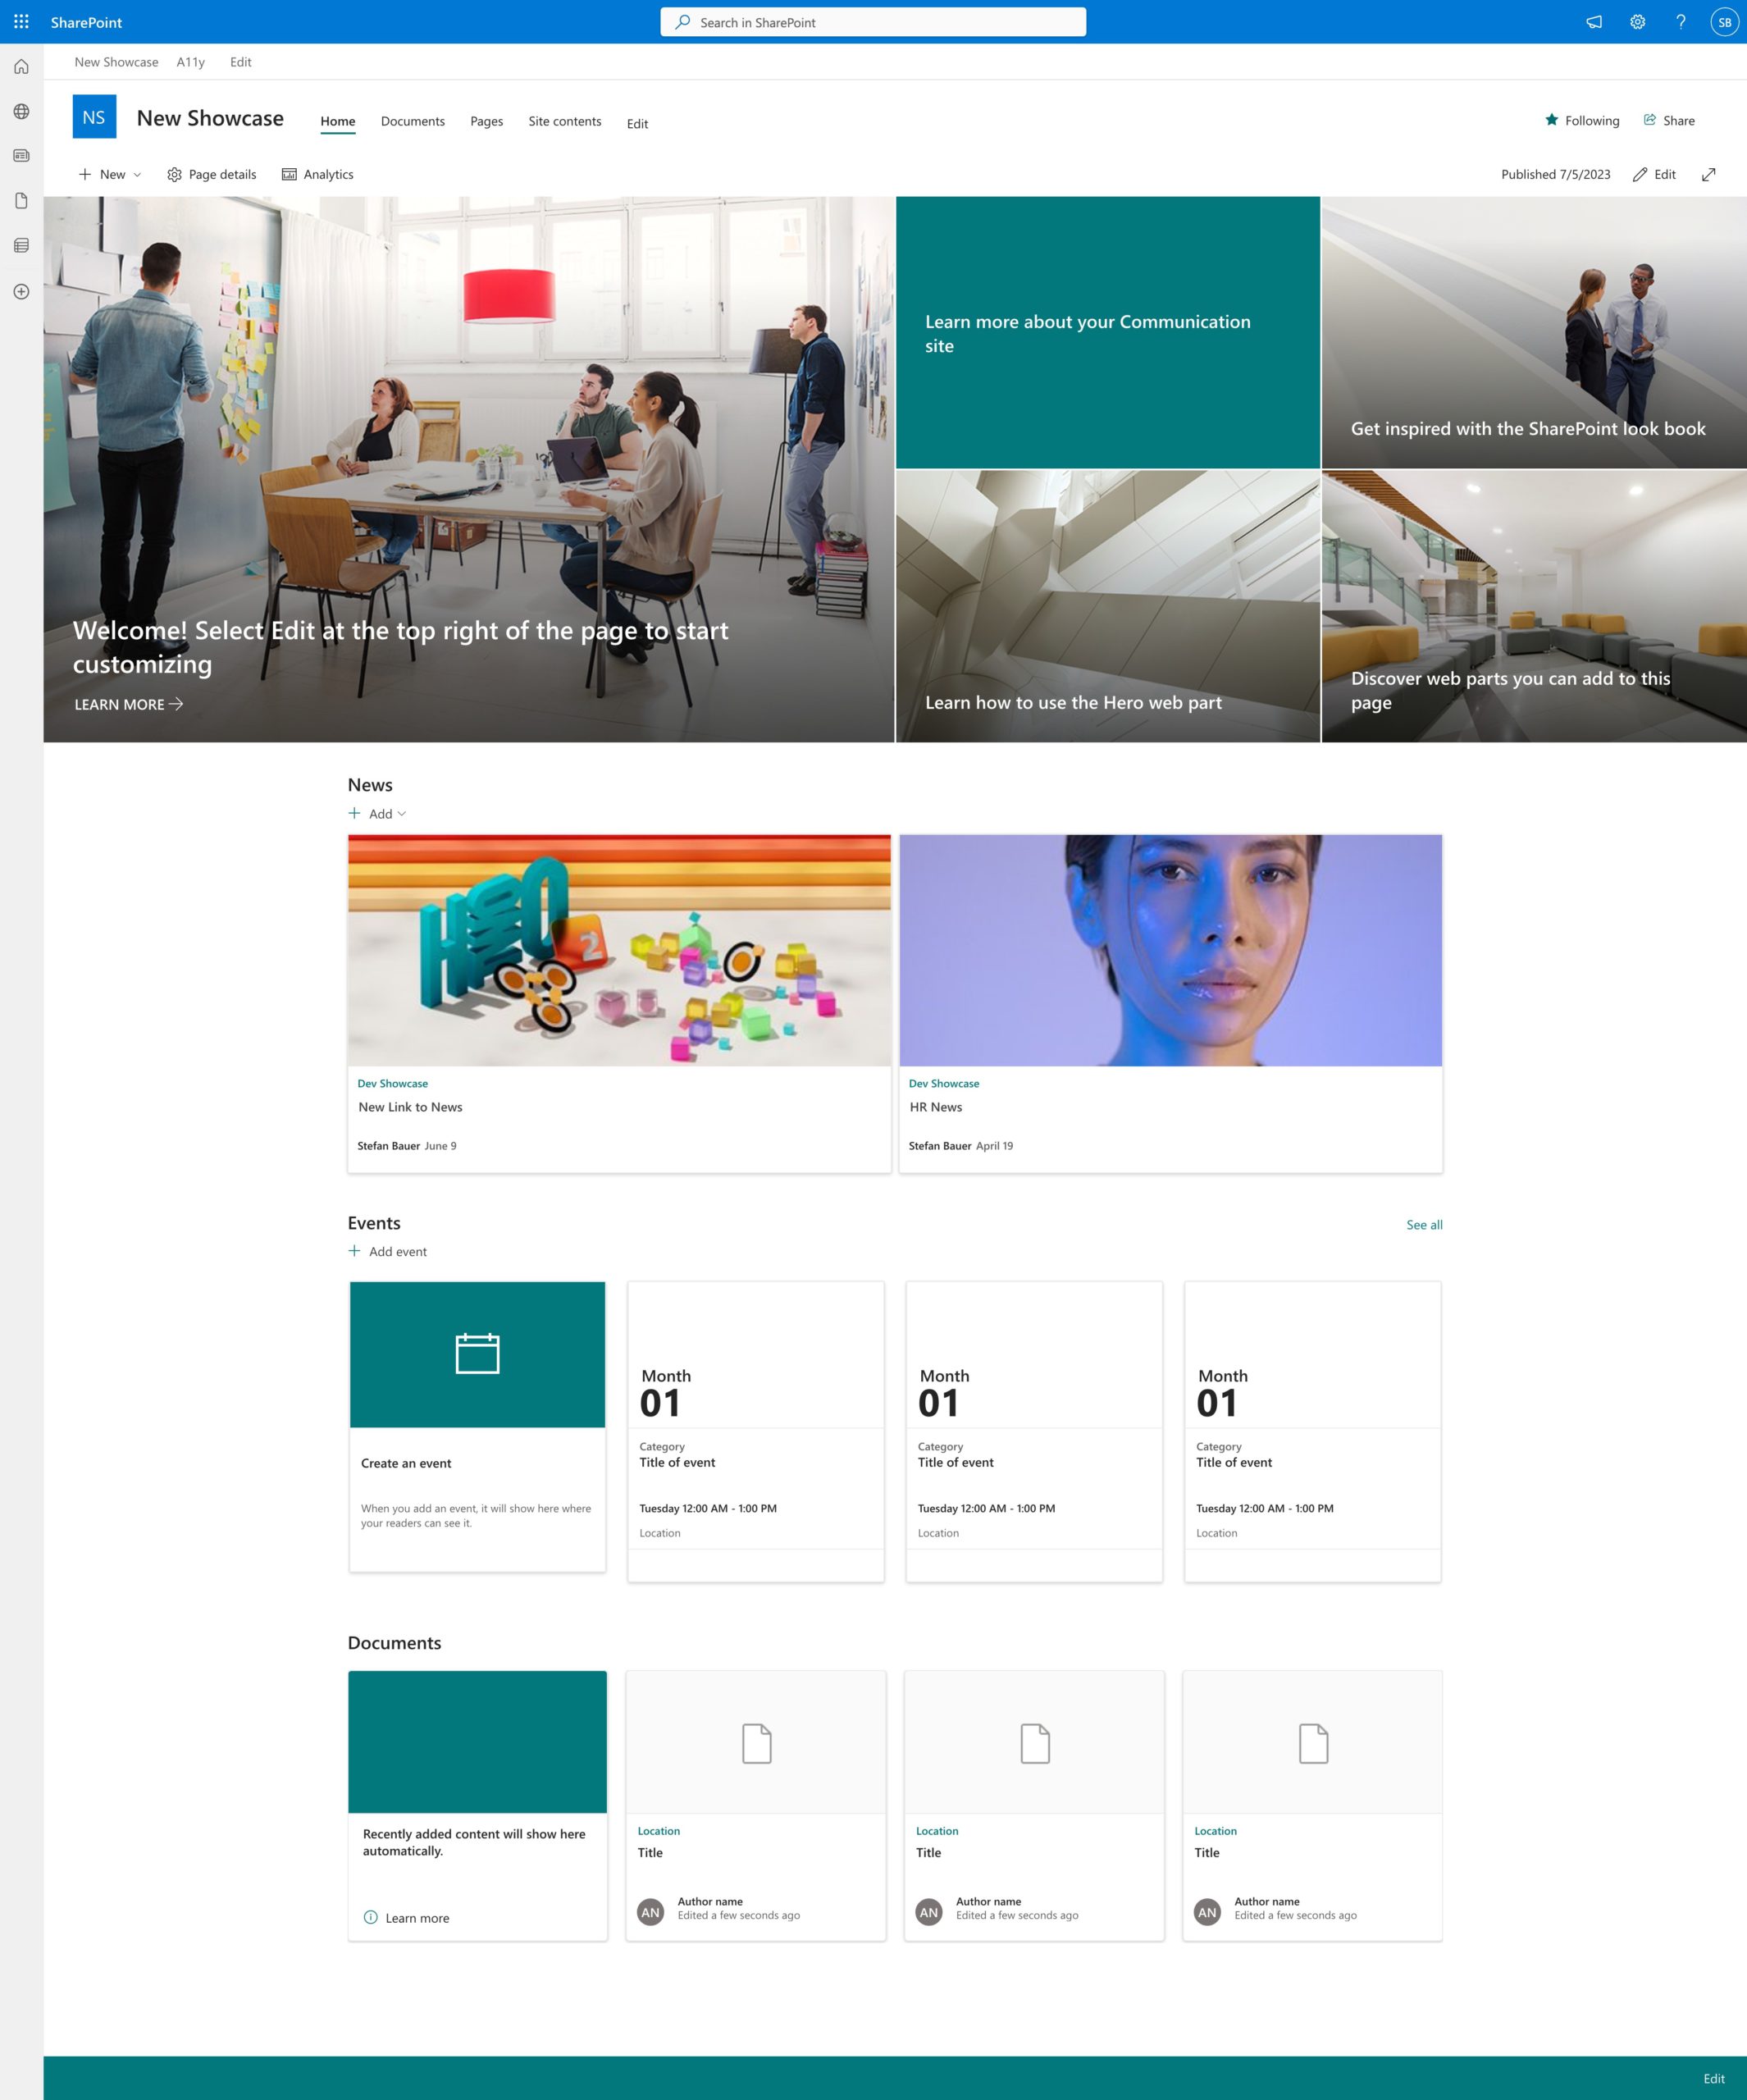
Tadaa! – Her is the screenshot at 1920×2306 pixel
More on Web Capture in Microsoft Edge