Let’s jump right into the topic how it is possible to pass data to a modal dialog. On first sight it looks like a complex task but after you read this article you will get an overview how it works. In this simple scenario I use a HTML Form web part with a text box and a hyperlink. The value then should be passed to the new form dialog of a custom list called “Cars”.
Opening the modal dialog
In general there are two ways to open a modal dialog. The asynchronous and the synchronous way to open a modal dialog, but here I use the synchronous way to keep the code simple.
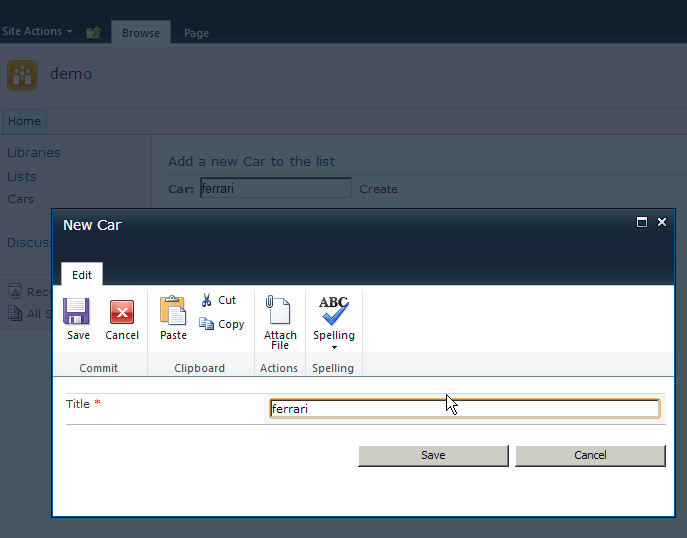
The setup for this scenario is simple. First I created a custom list named “Cars” and this list has nothing more than the default title field. After that I added a new HTML Form Web Part to the landing page of my demo site. Then I added a simple form to the web part. It consists of a textbox with the id “newcar” and a hyperlink with the id “create” to create a new entry. This form also loads JQuery from the CDN and the custom script that is needed to pass the value of the input field to the modal dialog.
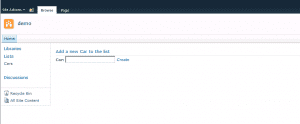
HTML Form web part that should pass the values to the modal dialog
The code of the form looks like this:
<script src="http://code.jquery.com/jquery-1.9.1.min.js"></script>
<div>
    <b>
    Car:
    </b>
    <input type="text" id="newcar" value="" />
    <a href="/sites/demo/Lists/Cars/NewForm.aspx" id="create">
        Create
    </a>
</div>
First the click event on the hyperlink needs to be registered to open a modal dialog. Then the data from the textbox needs to be passed to the title field of the modal dialog.
var childDialog = null;

$(document).ready(function(){

    // register event handler to open the modal dialog
    $("#create").on("click", OpenNewFormInDialog);

});

var OpenNewFormInDialog = function(e){
    // Disabling the default hyperlink behavior
    e.preventDefault();

    // Get the form url from the link
    var formUrl = $(this).attr("href");

    // Setting the option of the modal dialog
    var options = {
        title: "New Car",
        url: formUrl
    };

    // Open the new dialog
    SP.UI.ModalDialog.showModalDialog(options);

}
So far so good this all no rocket science but how do we get the data to the form? Therefor a little trick is needed. The function “SP.UI.ModalDialog.get_childDialog()” will return the last loaded modal dialog. The modal dialog object returned by this function has a special property named $c_0. Once the dialog has been loaded it contains the content of the modal dialog. All that needs to be done is to recheck this property during the loading of the dialog. This can be accomplished with a simple recursive call that pauses for 100 milliseconds, in my case, and check the property again. If this is set then the loading has been completed.
...

    // Open the new dialog
    SP.UI.ModalDialog.showModalDialog(options);

    // Get the child dialog
    childDialog = SP.UI.ModalDialog.get_childDialog();

    // Check the loading state
    CheckDialogState();

}

var CheckDialogState = function(){

    // check if dialog is fully loaded
    if (childDialog.$c_0 != undefined || childDialog.$c_0 != null)
    {
        // get title value from textbox
        var titleValue = $("#newcar").val();

        // load document from modal dialog into a jquery object;
        var dialogContent = $(childDialog.$c_0);

        // find title field in dialog by it's title value
        var titleInputField = dialogContent.find("[title=Title]");

        // setting the title field
        titleInputField.val(titleValue);

    }
    else
    {
        // Wait for 100ms and then check again
        window.setTimeout("CheckDialogState();", 100);
    }

}
...
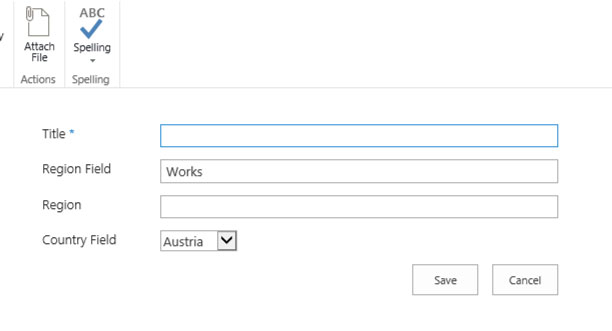
After the content has been loaded all that needs to be done is to parse the property to a JQuery object. Once it is accessible in JQuery the value of the form web part input field can be added to the title field of the new form. The result can be seen in the following screenshot.
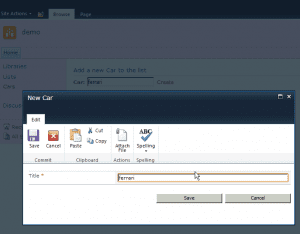
Modal dialog after the values have been passed to the modal dialog
Further user experience enhancement
A nice additional feature when data will be passed to a modal dialog is to tell the user to check the values. This can be done using the page status bar for example. The problem here is that the status bar cannot be enabled with the SharePoint function SP.UI.Status.addStatus.
Previously we already loaded the content to a JQuery object, so we can do further manipulation of the output of the modal dialog. SharePoint renders on default a placeholder for that page status with the id “#pageStatusBar”. The code to show the page status looks like this:
...
        // add message to page status bar and toggle the display to be shown
        dialogContent.find("#pageStatusBar").html("<strong>Please check the value</strong>")
        dialogContent.find("#pageStatusBar").toggleClass("s4-status-s2").css("display", "block");

        // resize the modal dialog.
        childDialog.autoSize();
...
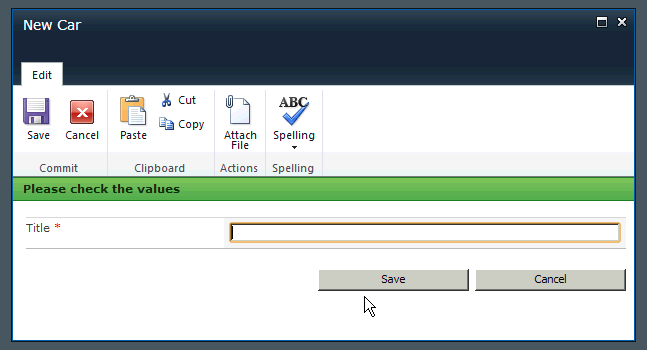
At the end I forced the modal dialog to resize itself to avoid possible scrollbars.
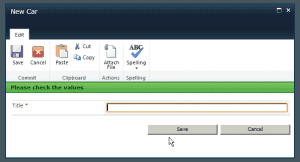
Modal dialog with page status
If you have any suggestions or question please feel free to provide some feedback. As always you can download the html form web part in the link below.
Download the web part: Modal dialog part 1
Please make sure to change the path of the new form